For more than 100 years, black and white photography developed as an art form where the quality of the final print was directly related to skill in the darkroom. The artist either had to be proficient in developing and printing negatives or effectively communicating his vision to the local commercial printer (often with mixed results). Ansel Adams devoted entire books to the developing and printing of black and white negatives with this in mind.
But if you’re like me, working in a darkroom has little allure. I’m not a vampire; I don’t like dark, cramped spaces. But with the advent of Photoshop, the conversion of color photographs became a realistic option for creating black and white prints. Early on, this required scanning color slides or negatives and then converting the digital file to black and white. This method had its limitations, however, as scanned files would deteriorate if pressed too far in one direction or the other (banding in the sky being the biggest issue).
Enter the digital camera. Direct digital captures have more dynamic range than film does so more detail can be drawn out of shadow and highlight areas. More importantly, you don’t have to worry about the scanning process degrading the sharpness of the image or adding other artifacts. Today’s digital captures offer the artist an almost unlimited avenue for creative expression in the black and white medium. The final image can be made to mimic old-style darkroom prints (including sepia tones) or look like something entirely new and inventive.
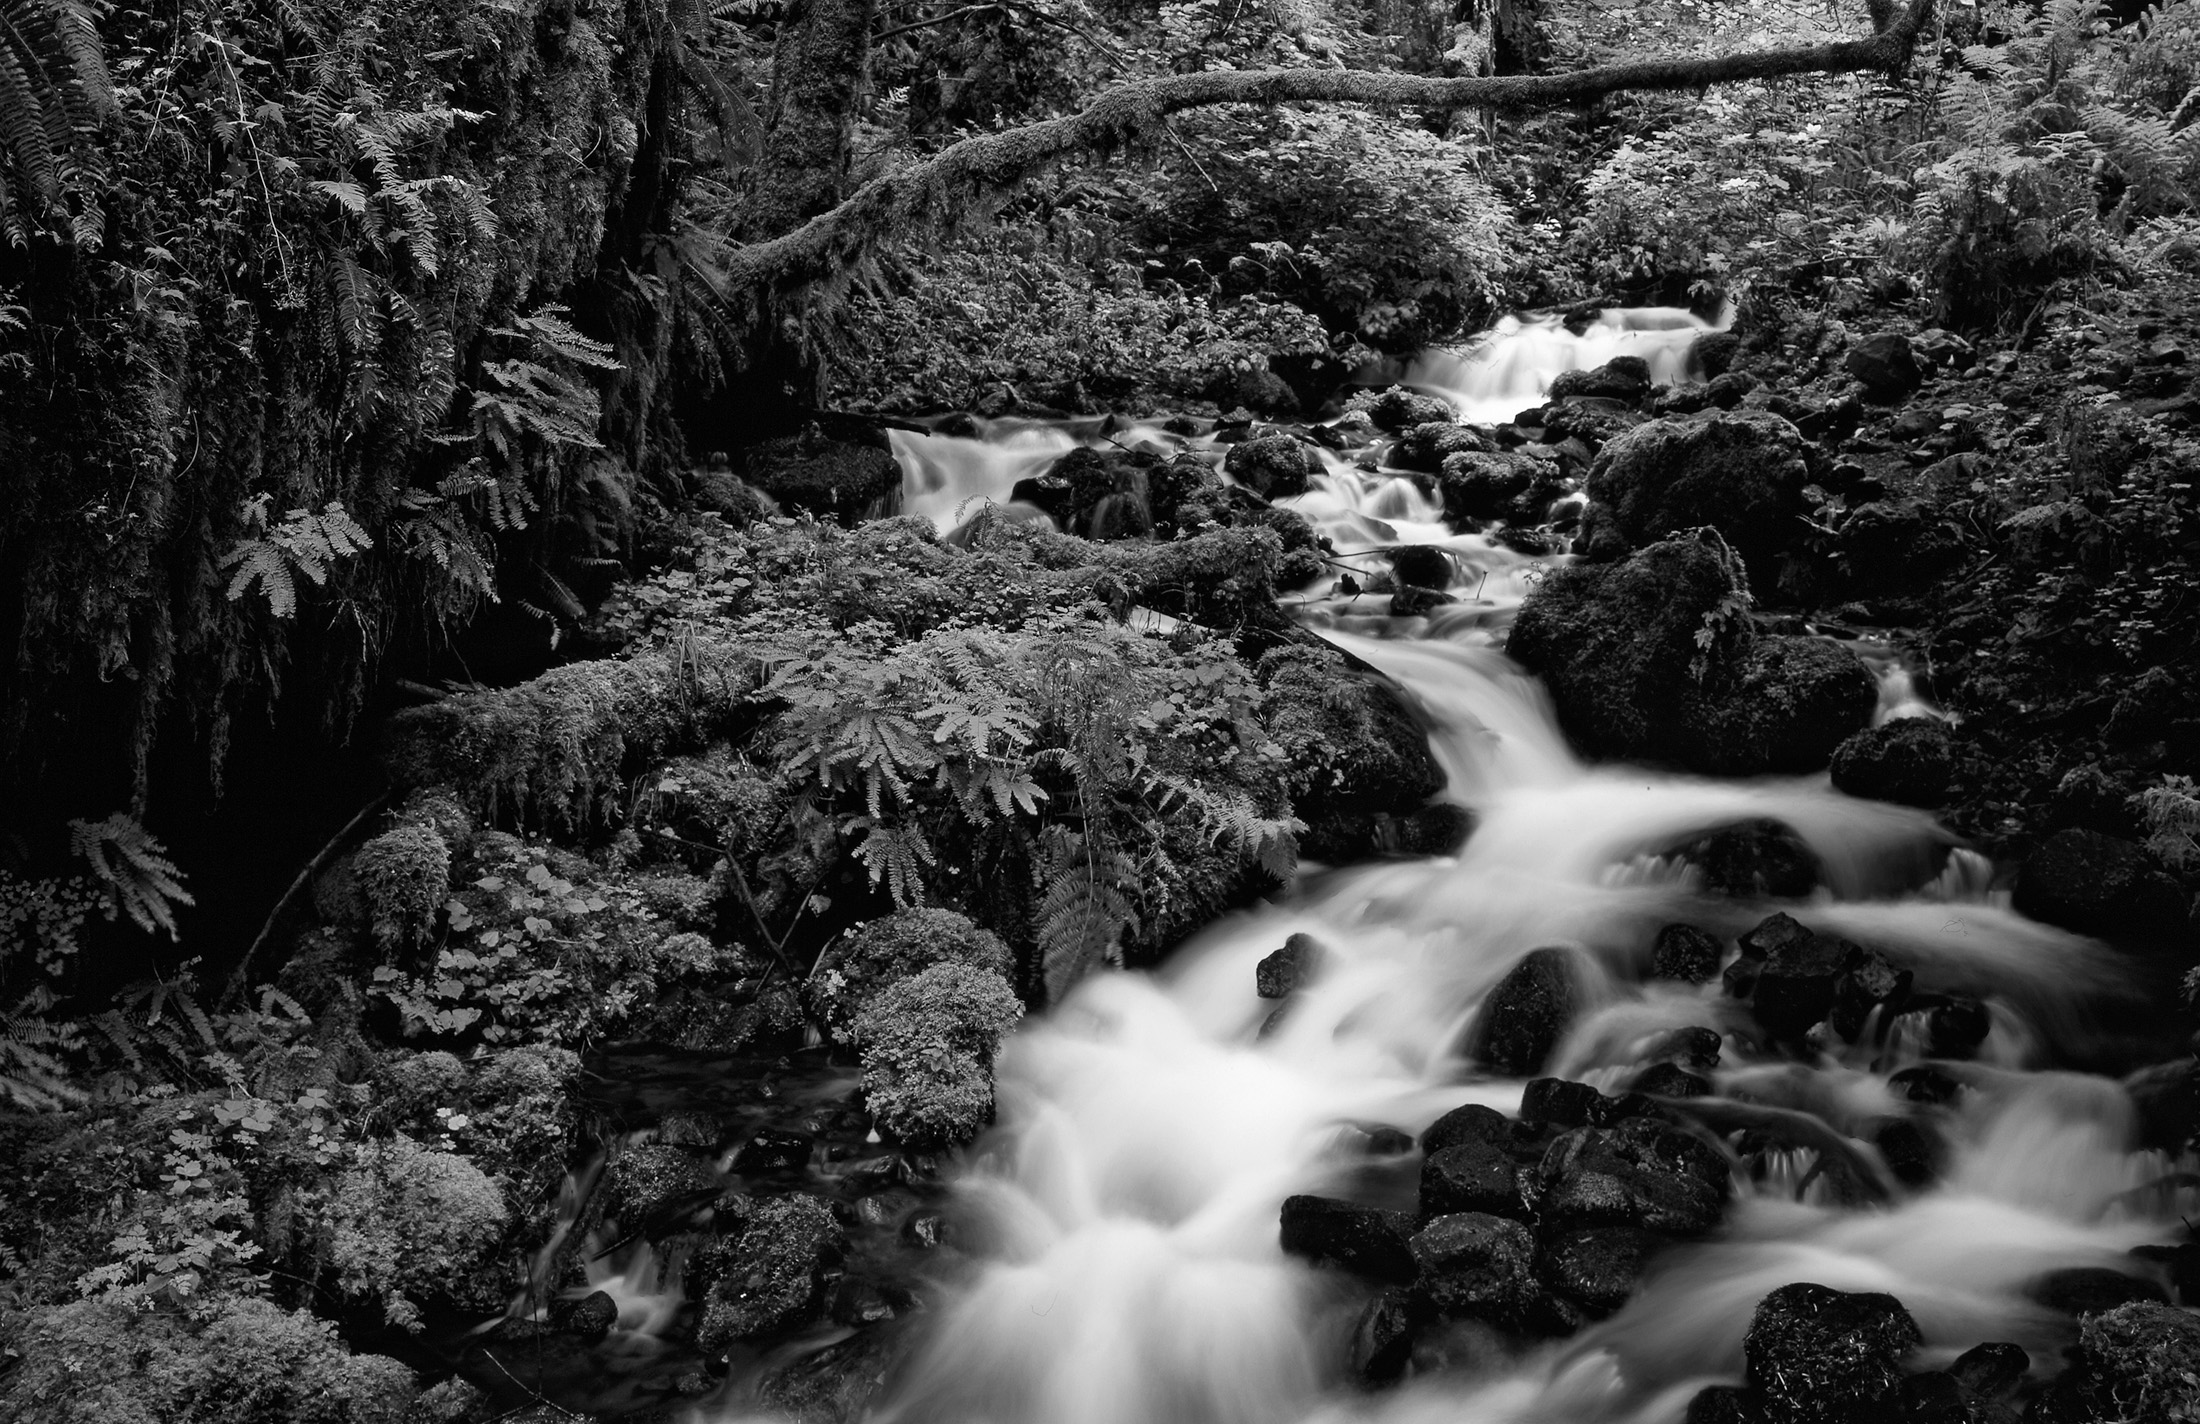
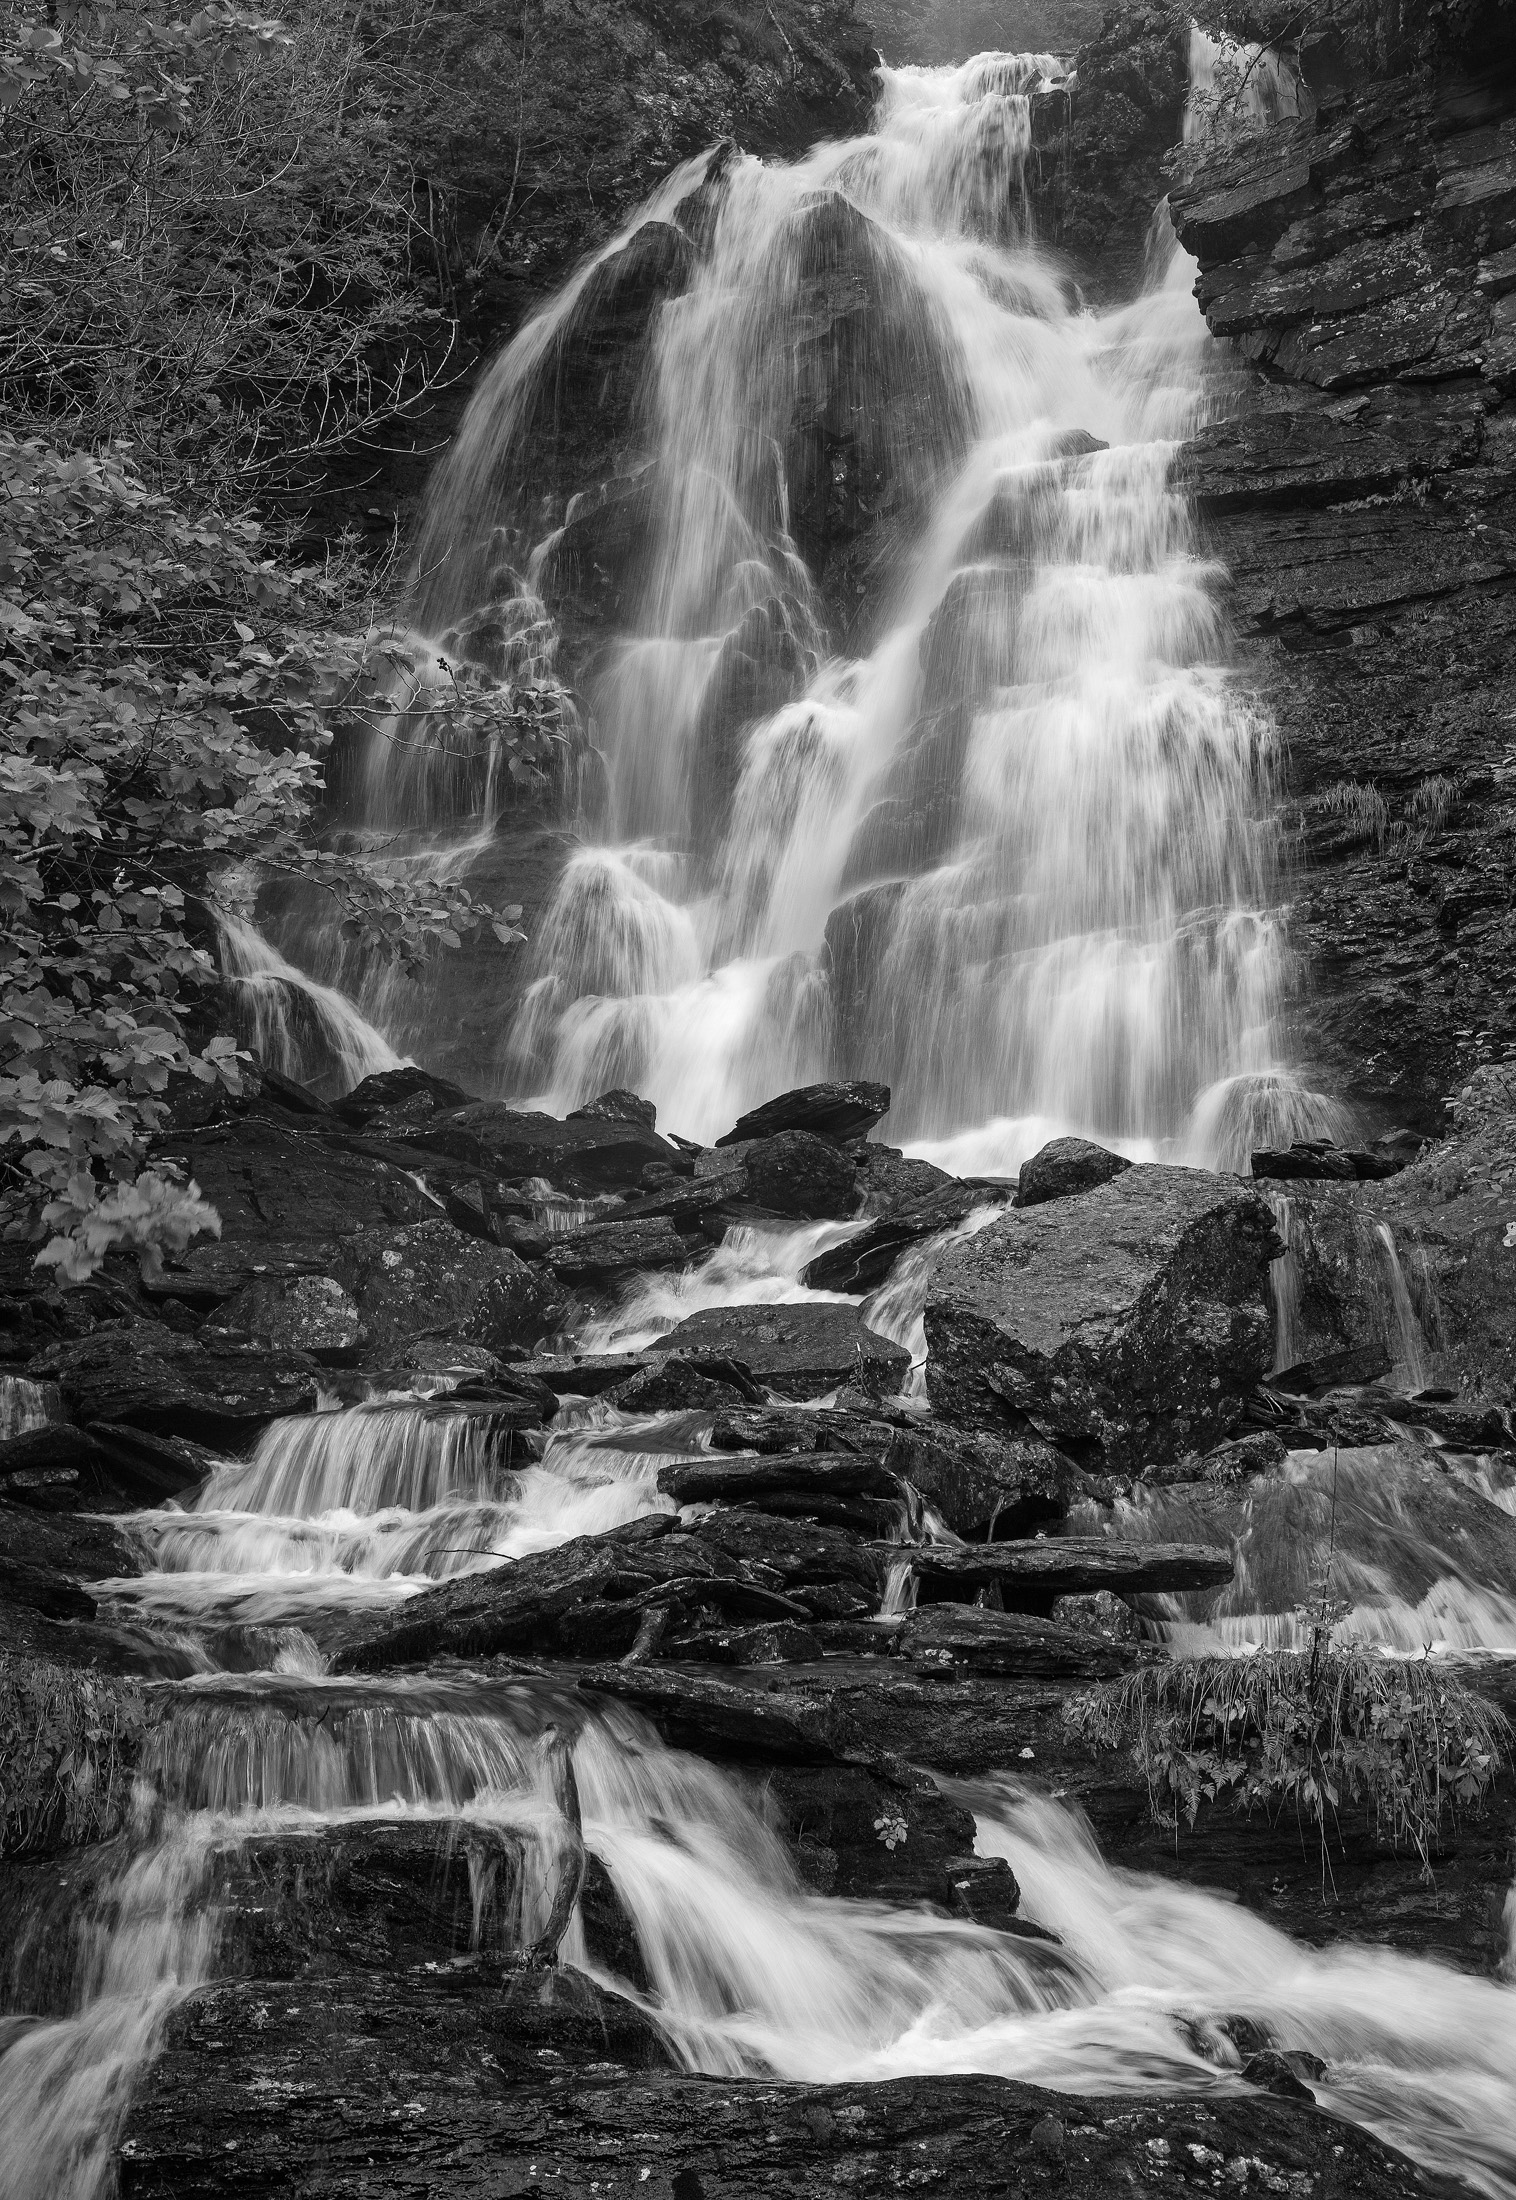
I like high contrast black and white photographs. I love the way black and white photography can emphasize the line or shape of the subject. In particular, I like to convert images of the Southwestern U.S. and waterfalls to black and white. But almost any subject matter can be successfully converted. When converting to black and white, the first thing I look for is an image that either has high contrast built in or has lines or forms that are interesting to look at. I try to visualize how the image will look once it is converted.
Step by Step Process of Conversion
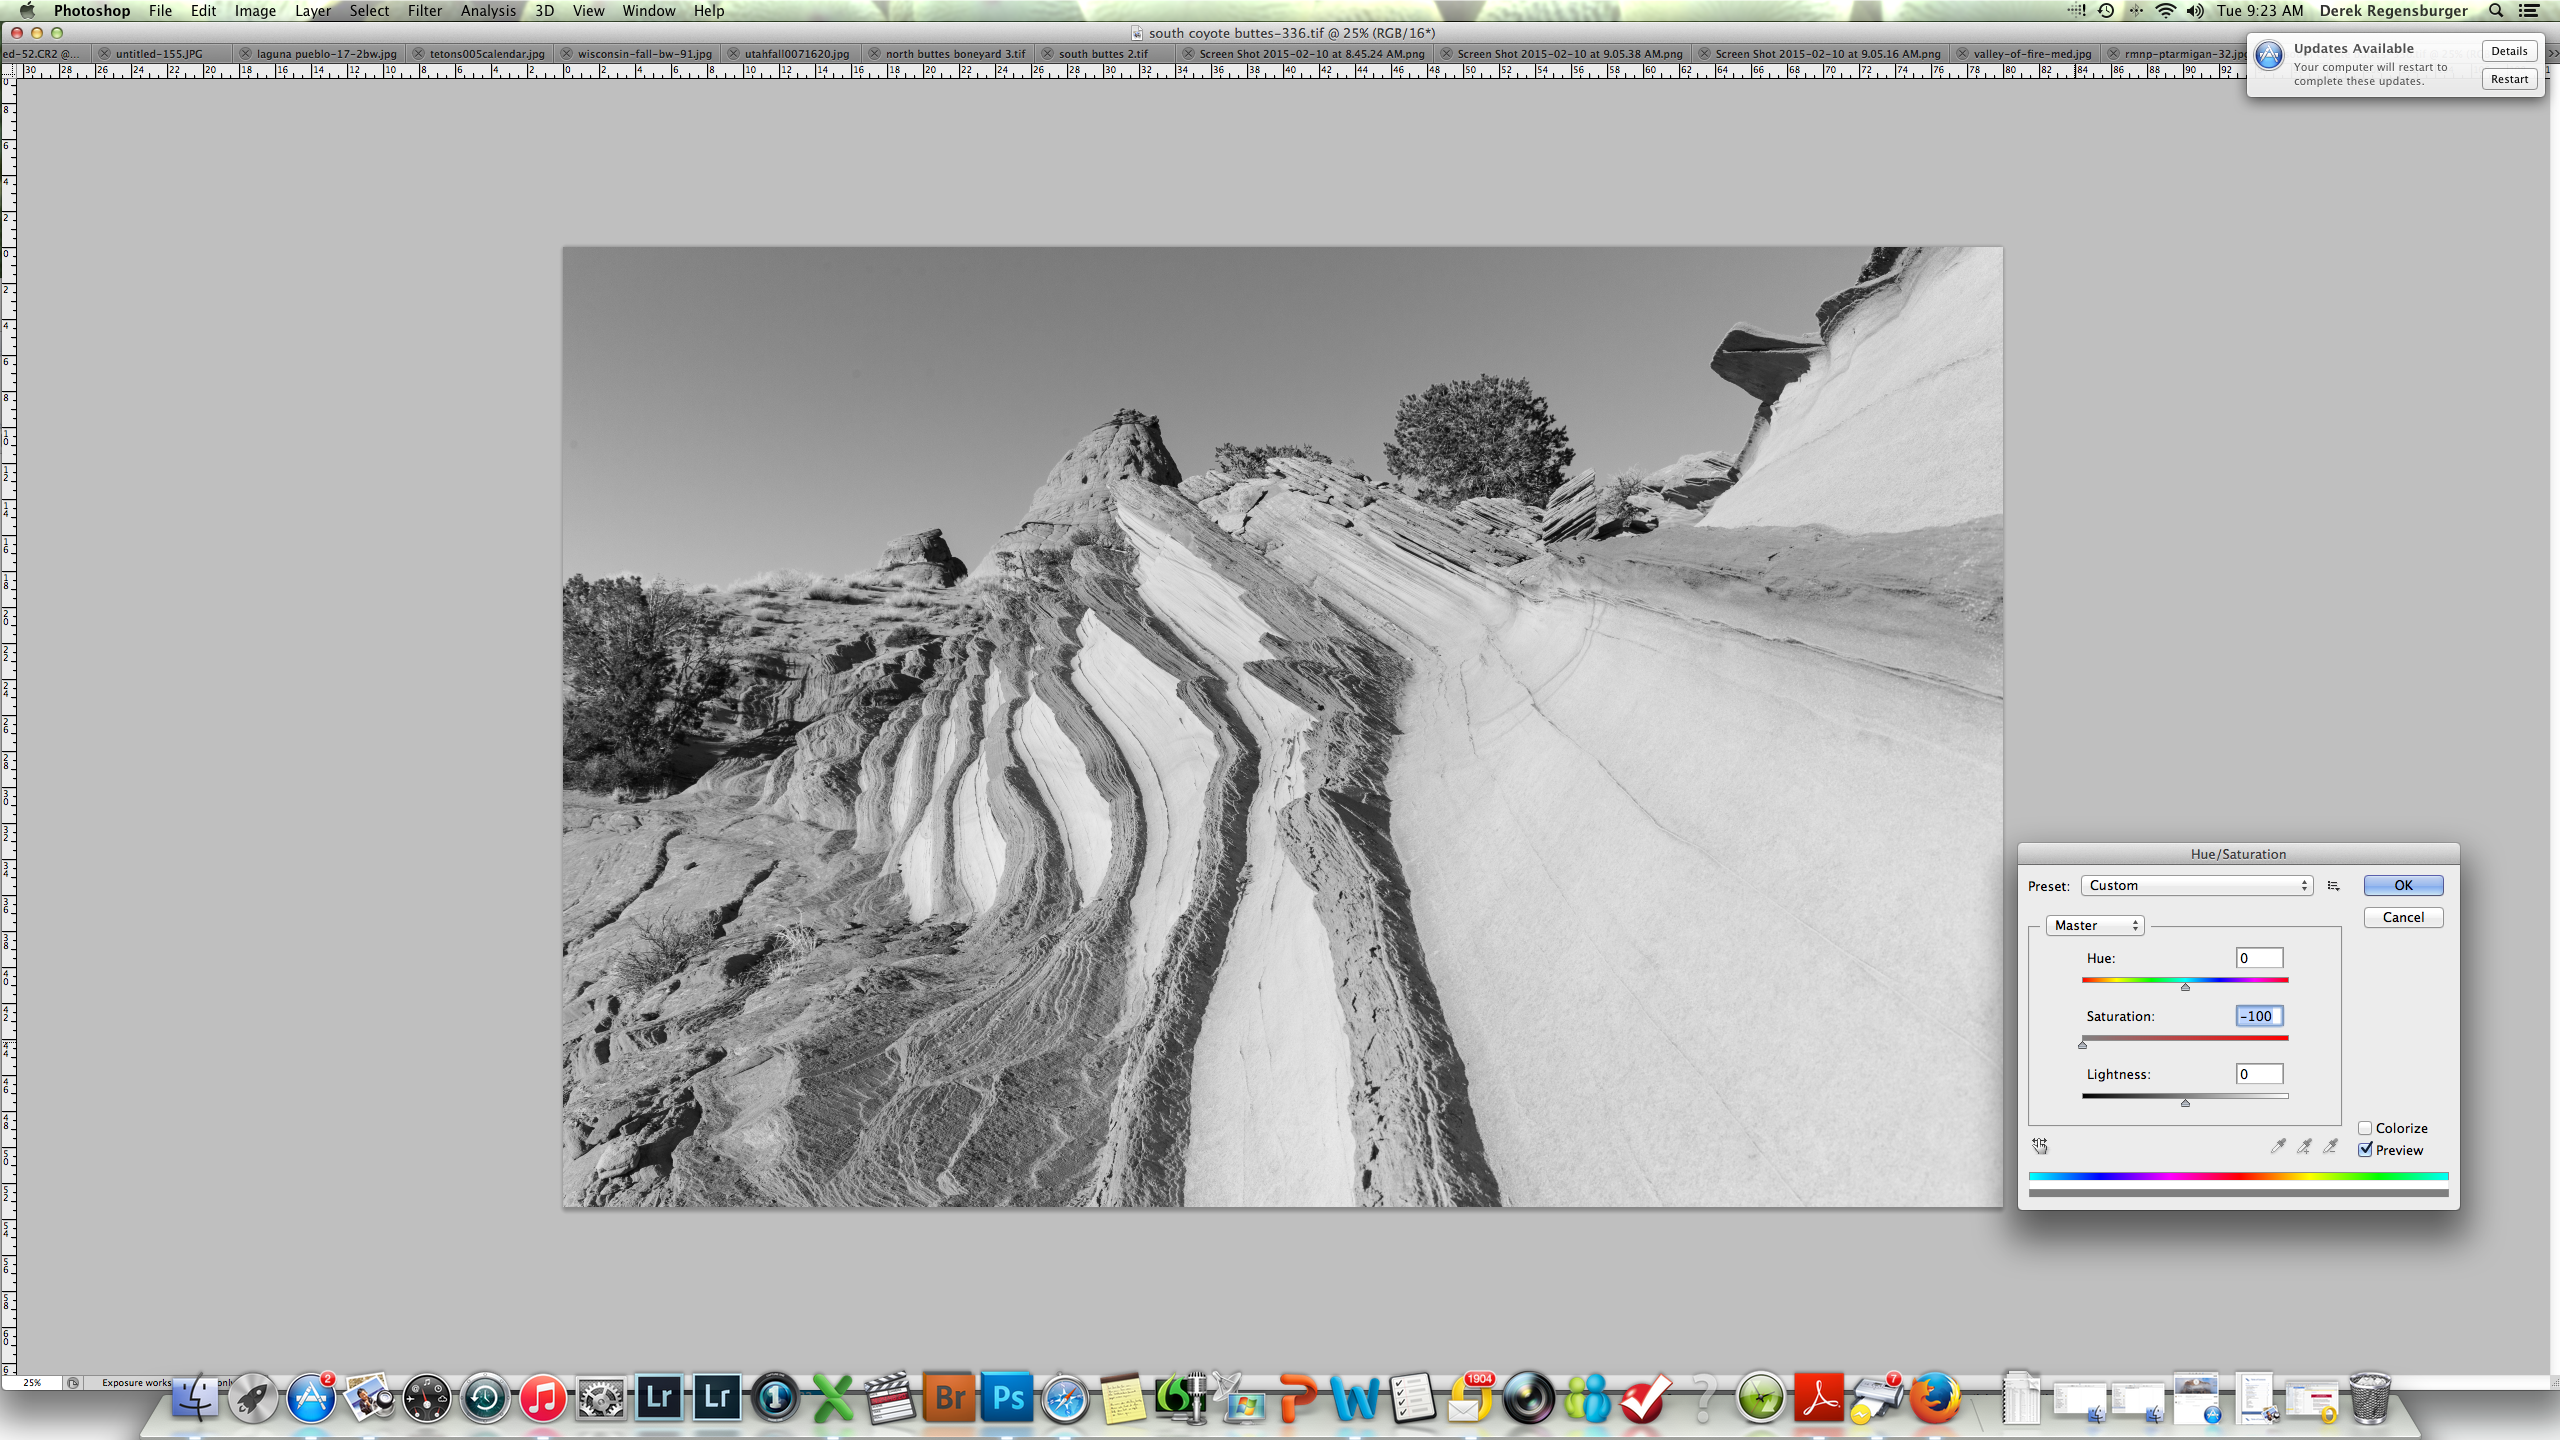
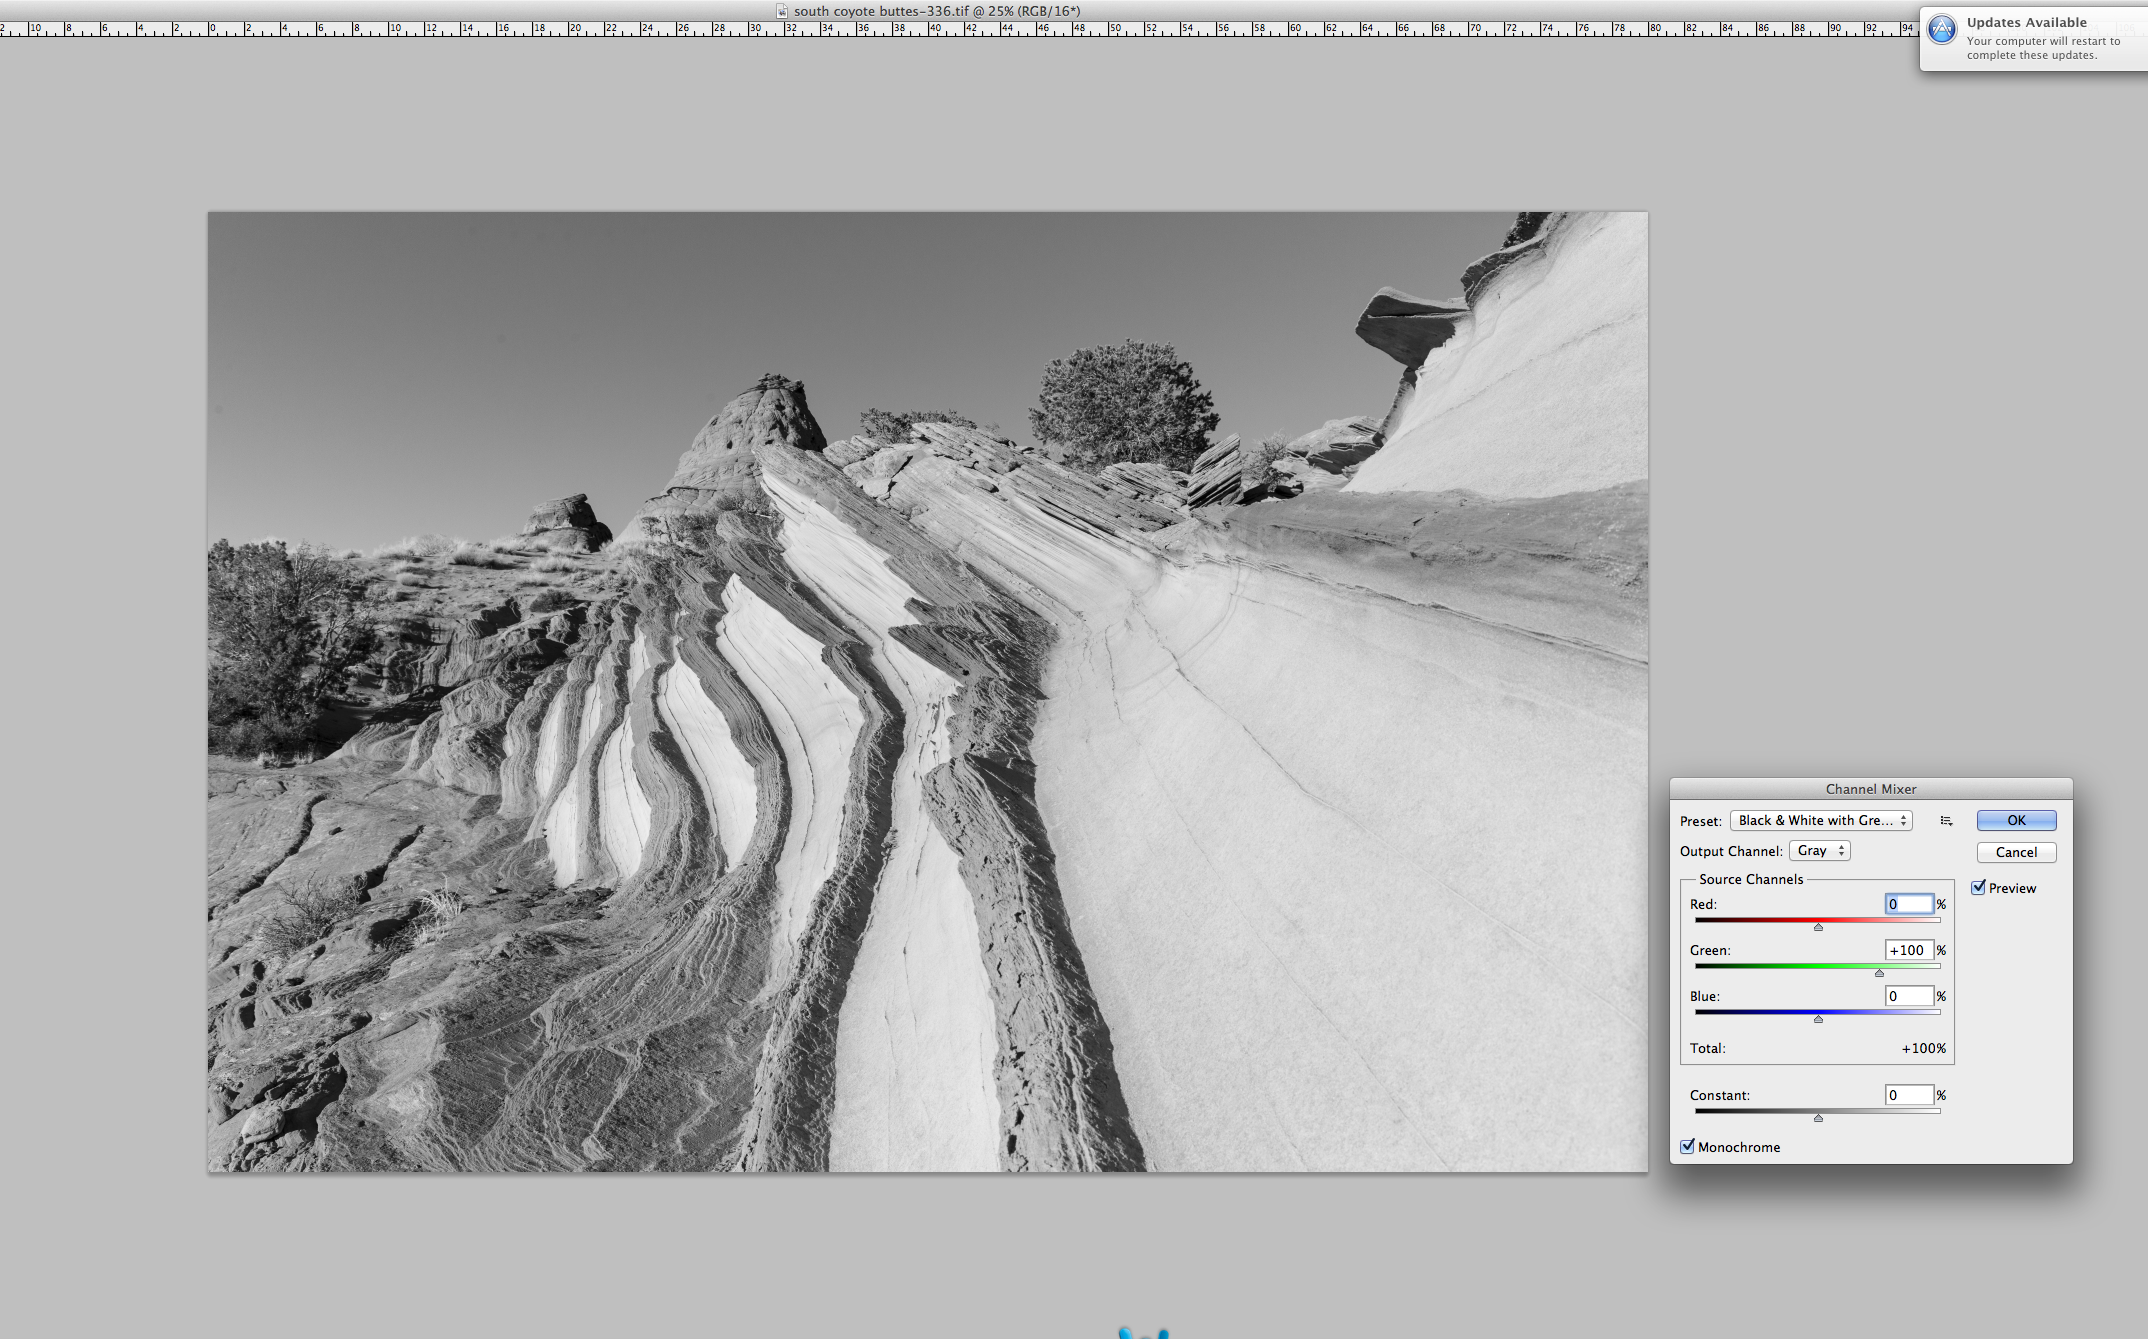
There are four basic methods of converting a color file to black and white: 1) using the Black and White image adjustment function in Photoshop; 2) using the Channel Mixer to adjust the separate color channels and converting to gray scale; 3) desaturating the file using the saturation slider; or 4) using a black and white preset in Lightroom or other editing program. I find the first option (Black and White adjustment tab) gives the user the most control over the resulting image, so I prefer to use it over the other three methods. Both primary and complementary color channels can be adjusted under this tab as compared to the channel mixer which does only the three primary colors. This comes in handy when I want to adjust highlights in water or rock or darken certain areas of the sky. The use of Lightroom’s black and white presets can provide some nice results but the user has no control over how the image looks other than selecting a given preset. Desaturation is the least preferable of the methods because the user has no control over how the individual colors are desaturated to make the final grayscale image.
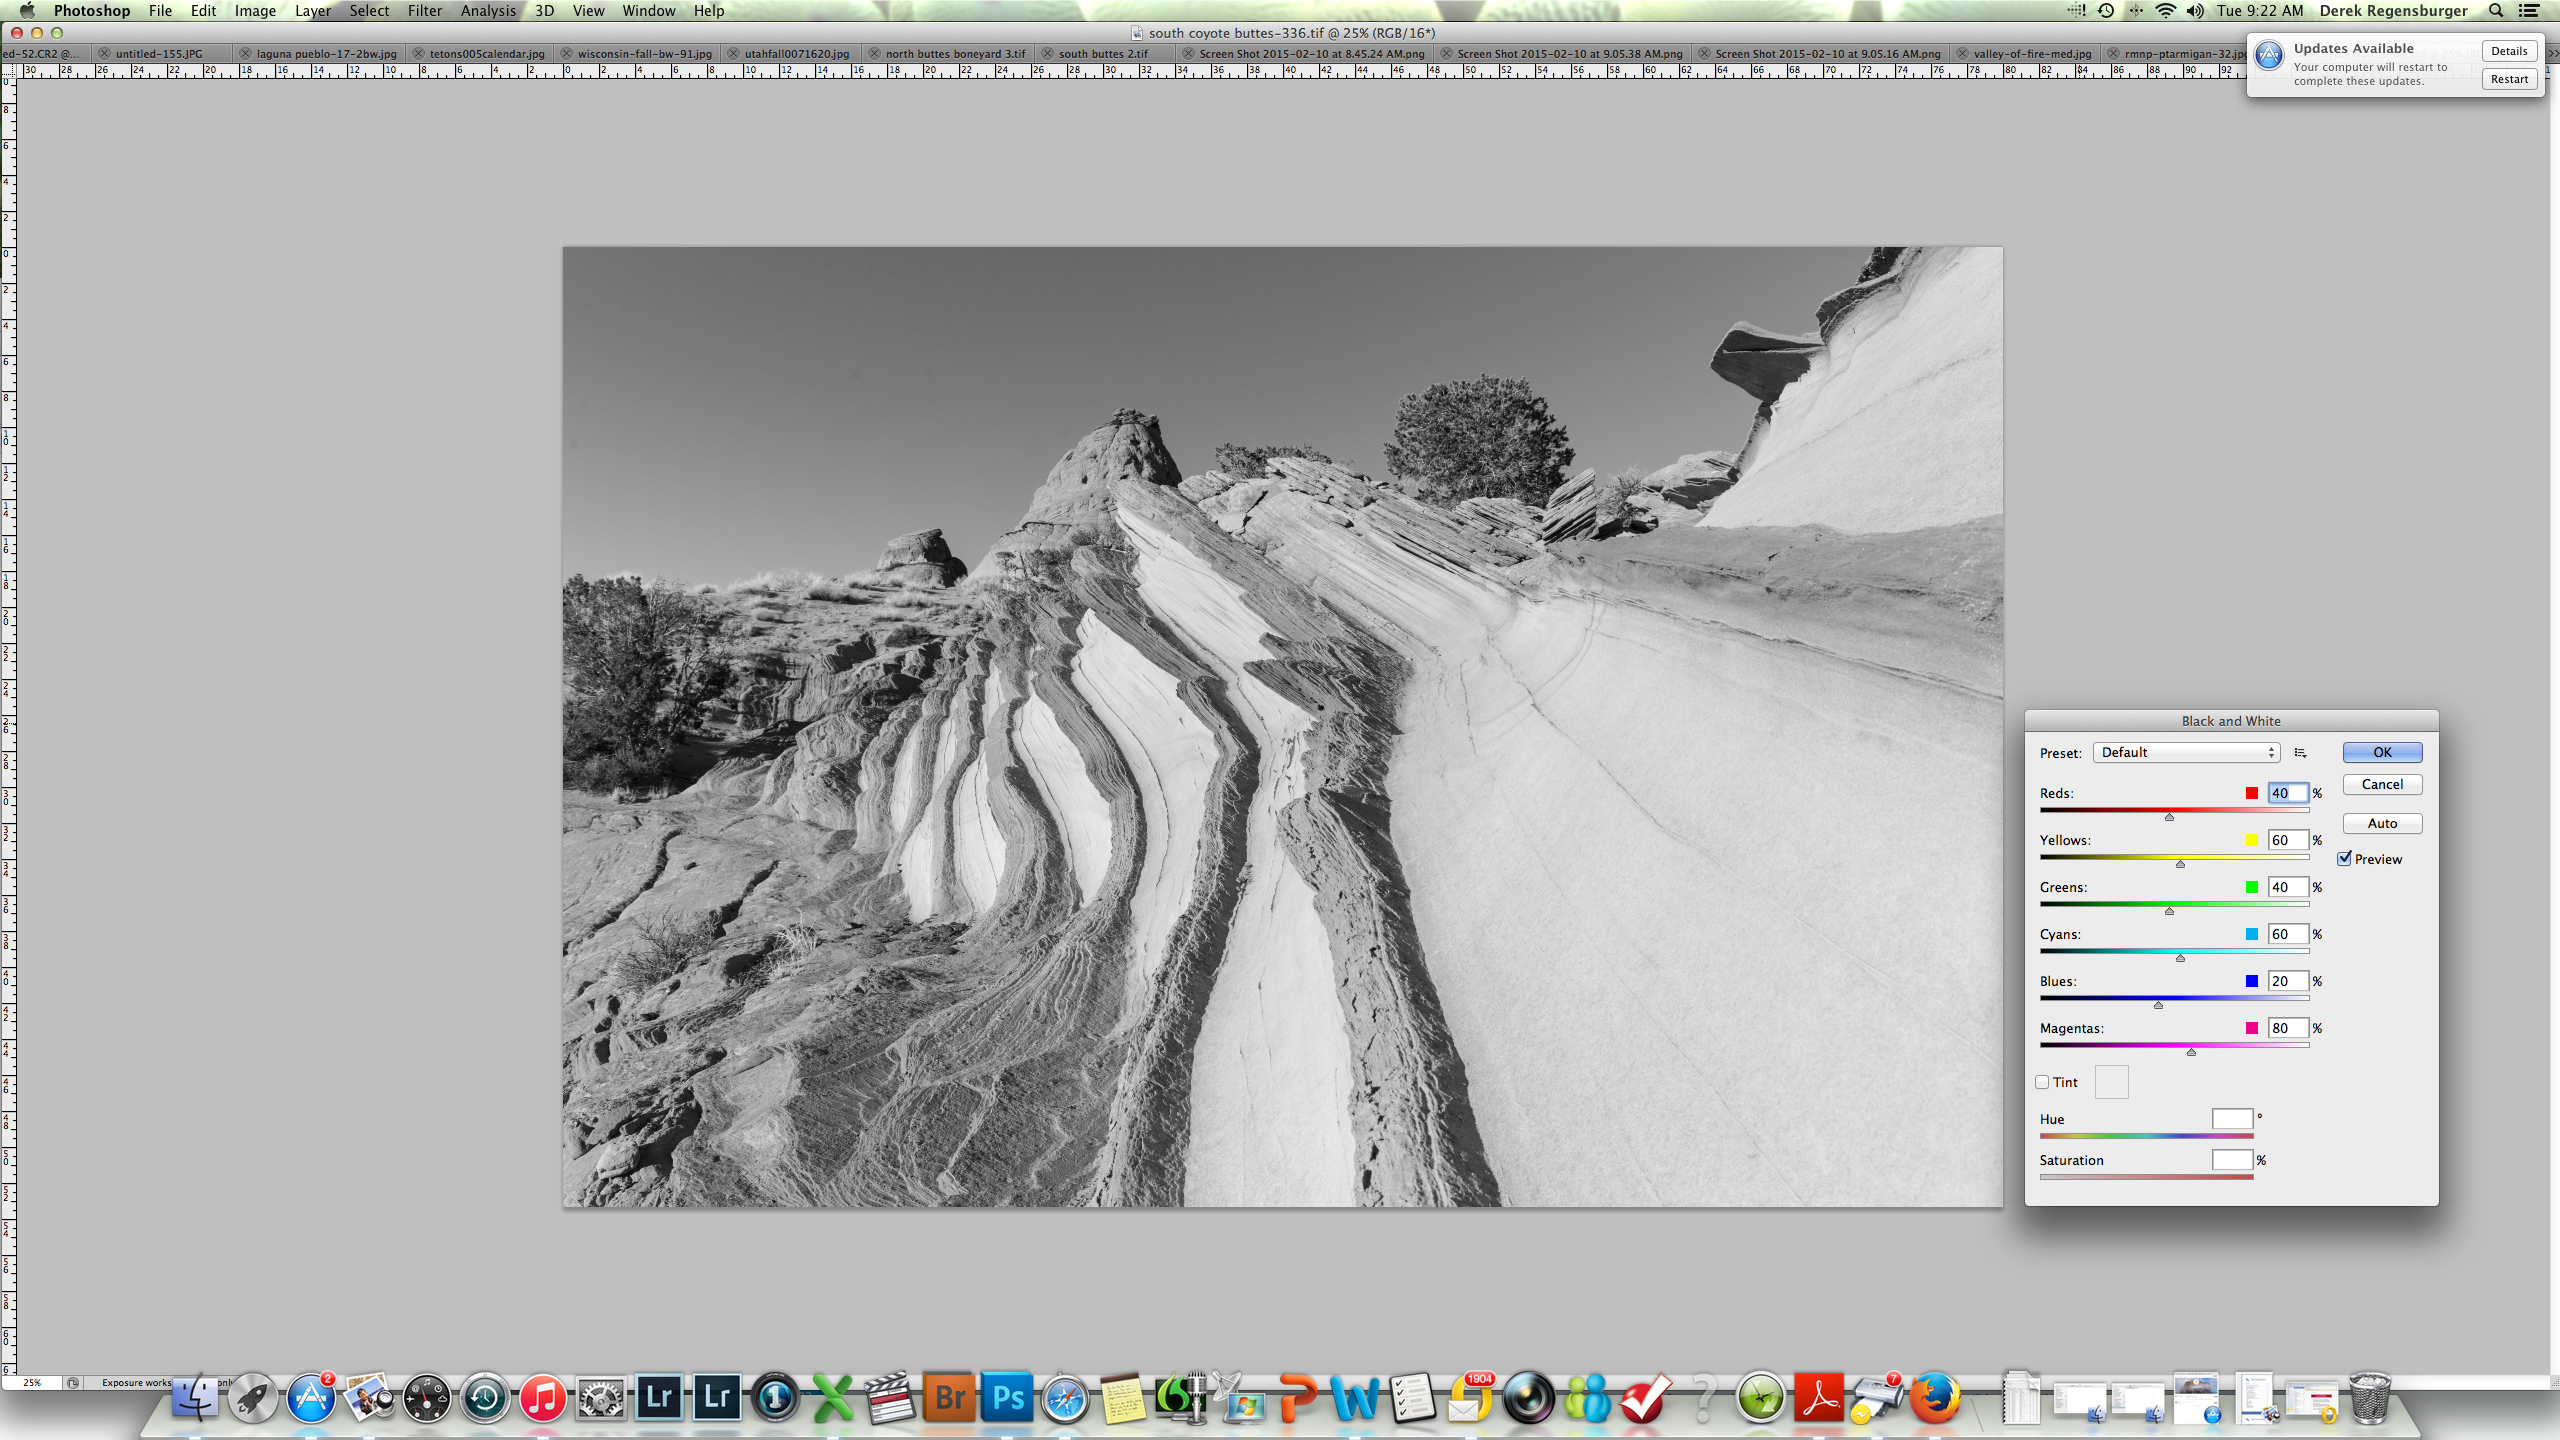
Black and White Photoshop Tab
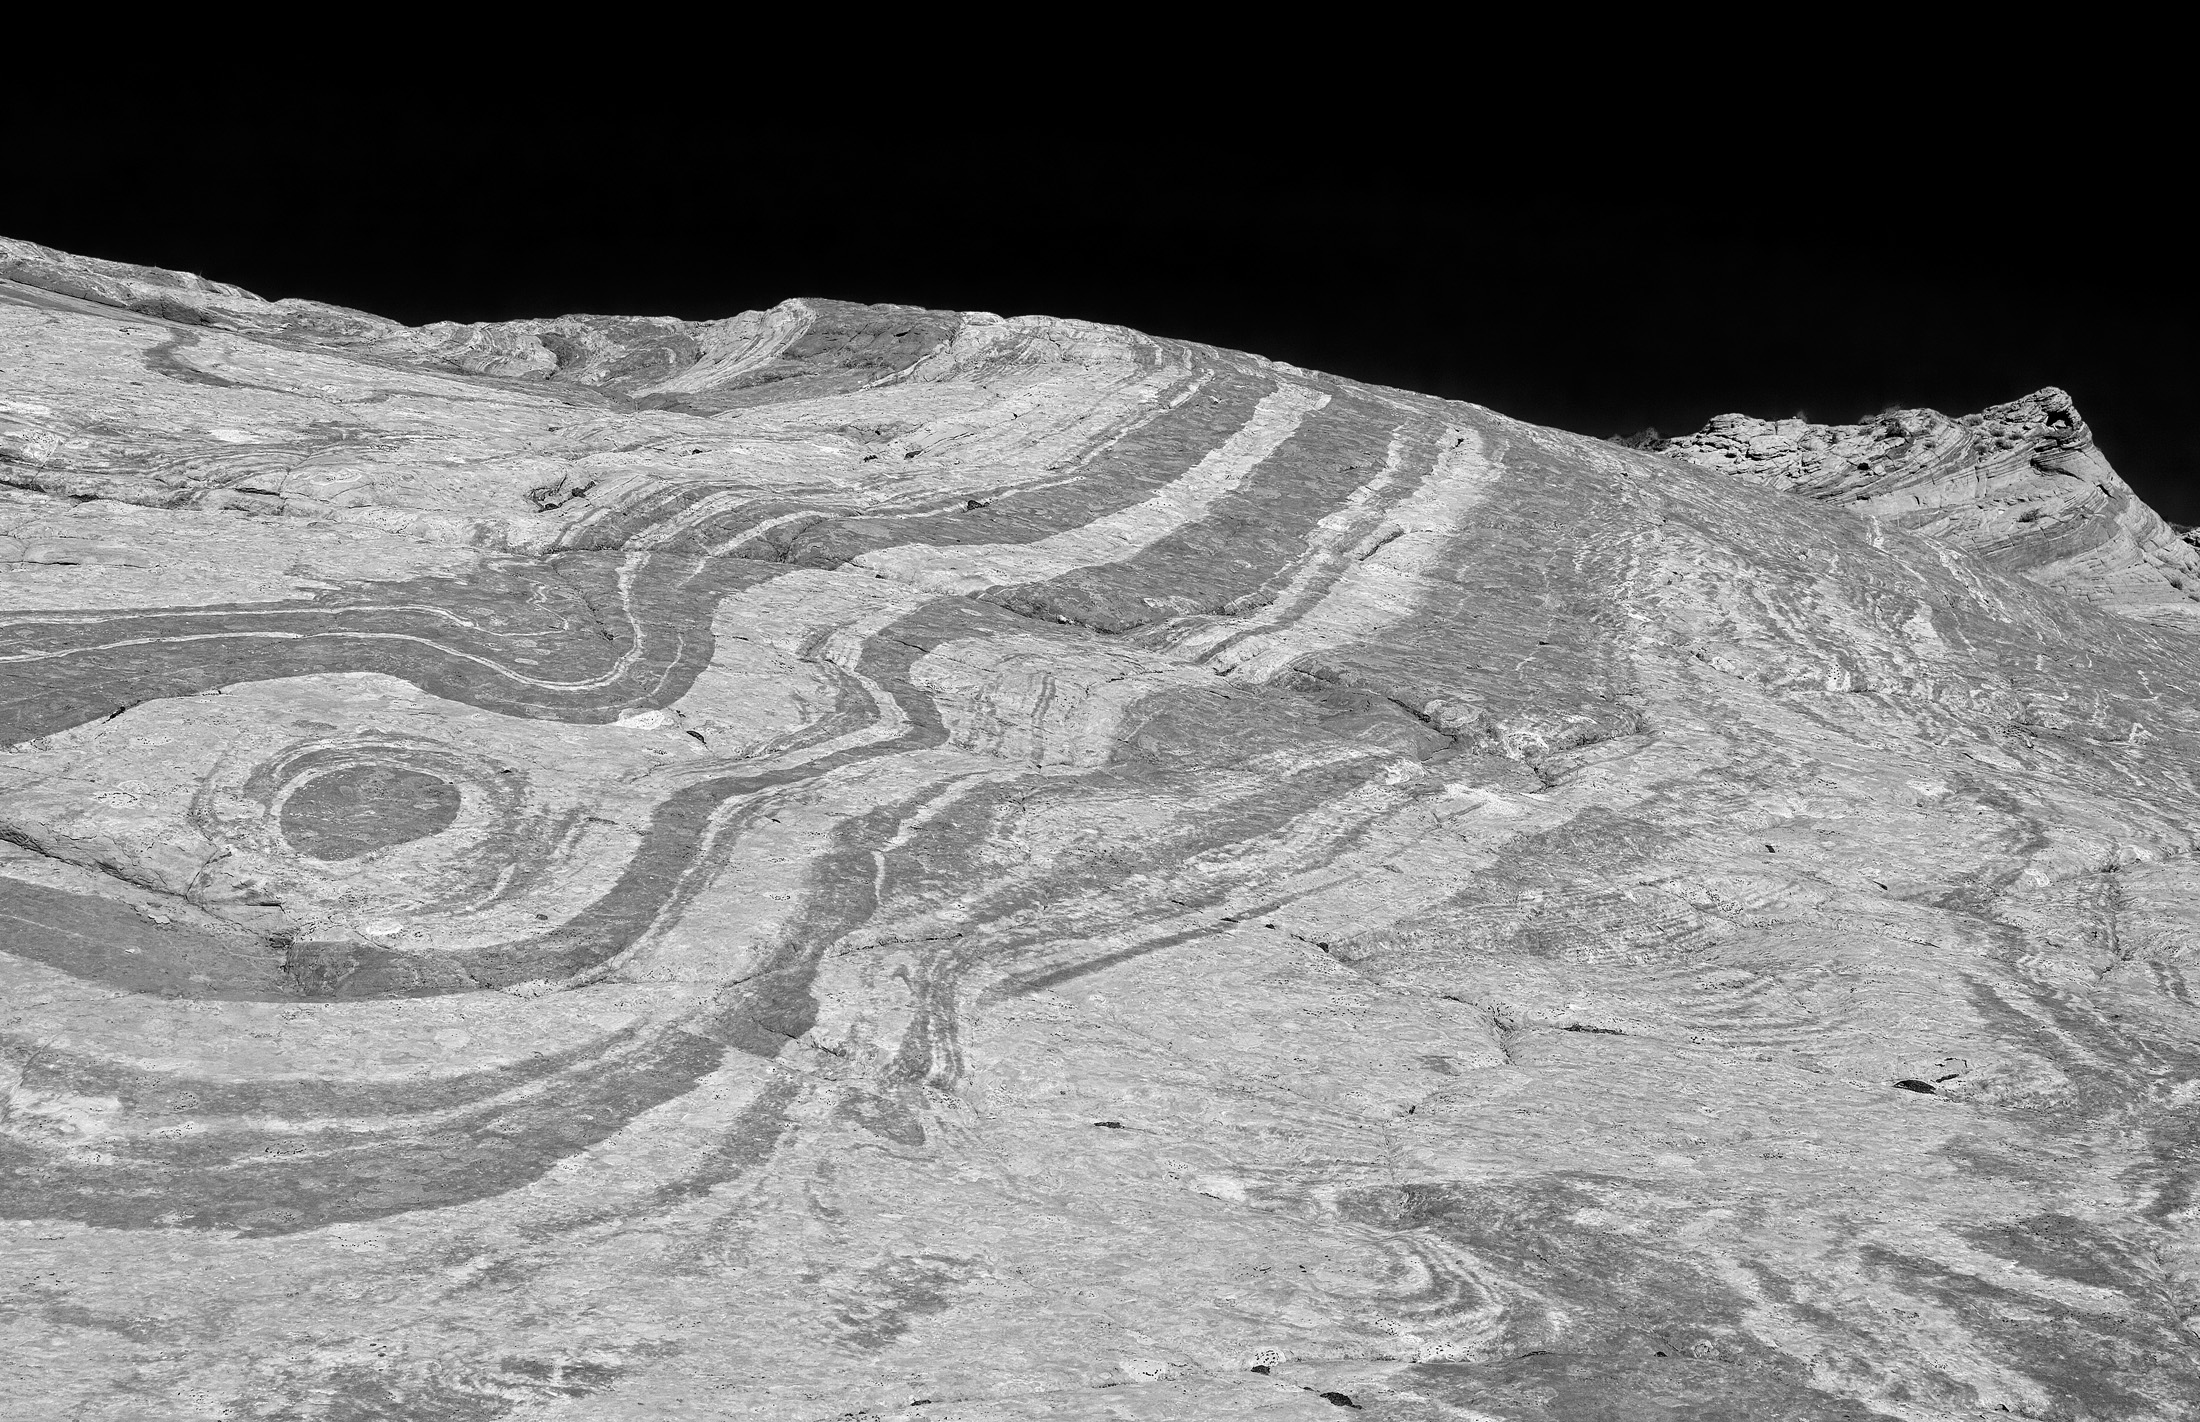
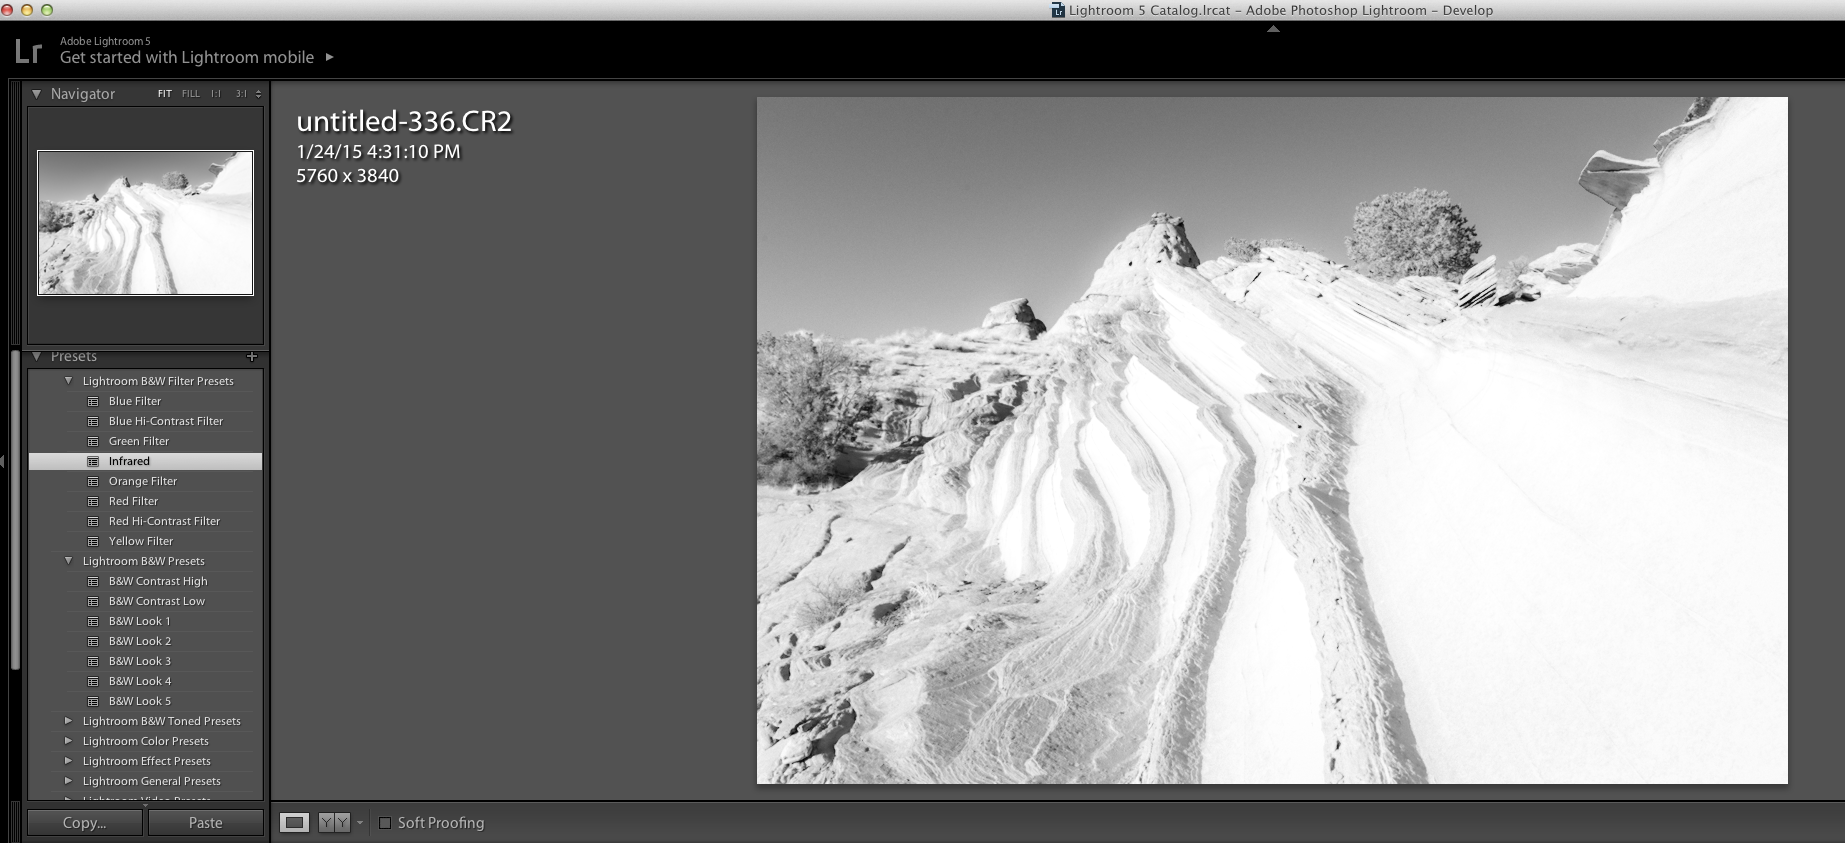
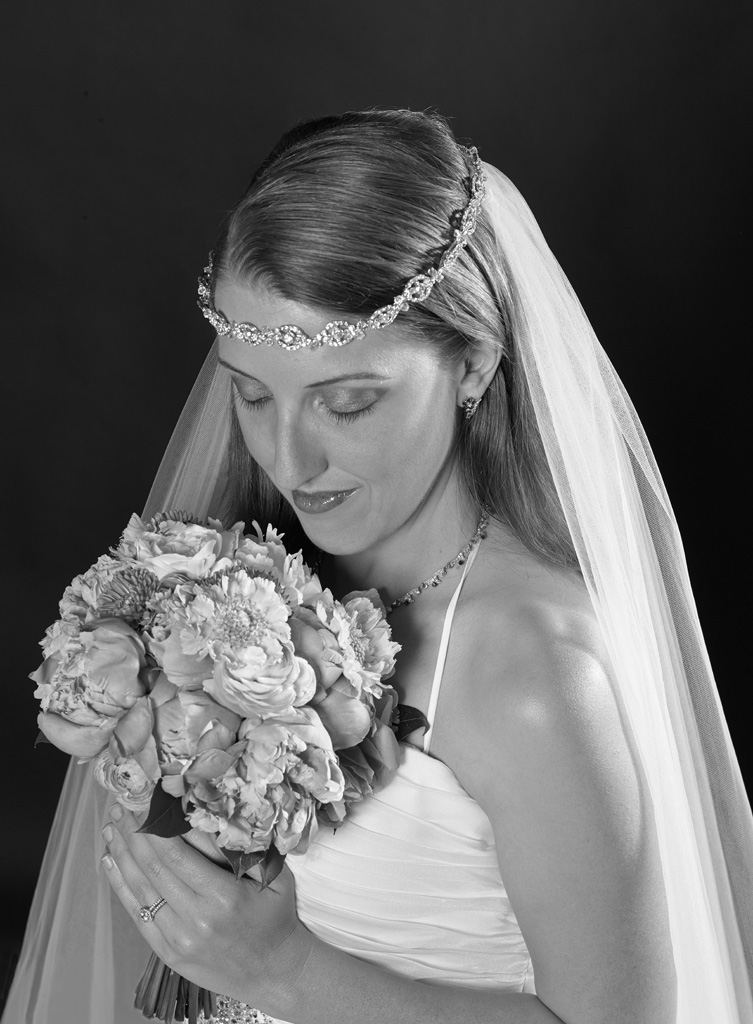
The black and white tab offers a number of options that mimic the effects of color filters used in conjunction with black and white film. I will often look at previews of a few of these before selecting the one I want to start with. The nice thing is that each preset is just a starting point—the user can then adjust the percentage of each of the colors to his or her liking from there. For shots containing blue sky, I often start with the infrared preset since it creates a dark sky. I will often then lower the Cyan and Blue colors even more to produce a completely black sky. I also find I often have to lower the yellow slider to prevent highlights from blowing out. Conversely, if I am converting a shot of a waterfall or foliage, I’ll select the green filter preset at the outset or just use the default setting. I also like the green or default preset for images of people. From the black and white tab, you can also add a tint and control the hue to add a sepia toned look to the final image.
Infrared preset

Green Preset
Default Preset
Adding Elements of Color
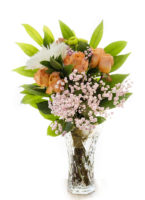
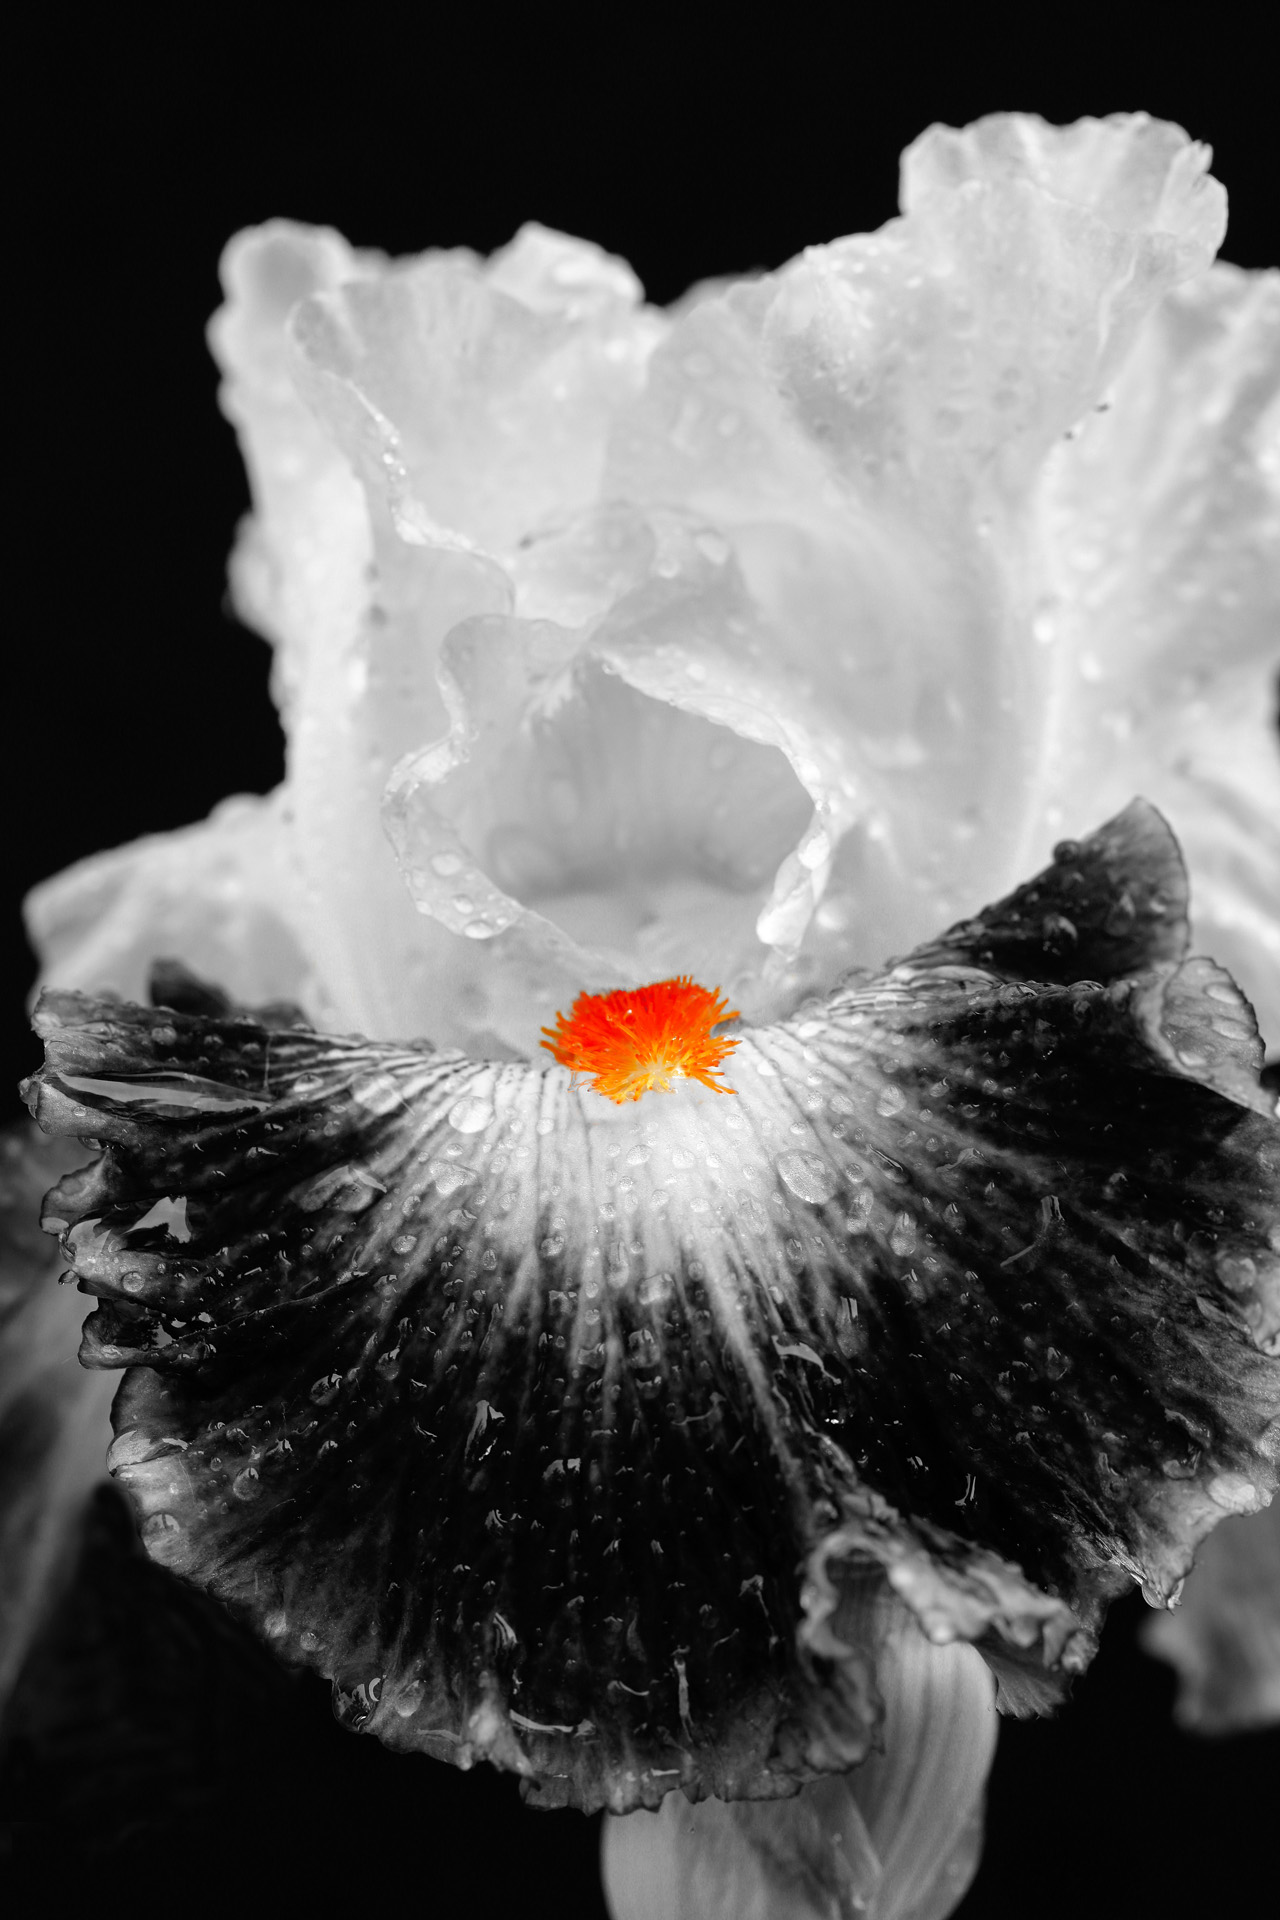
If I’m being really creative, I will mask off a given part of the image, reverse the selection, and convert everything in the image but that one object to black and white. This works great for images that contain a flower or other element of color I want to keep in the image. The quickest way I’ve found to do a selection of a color is to use the color range tab under the selection menu. You can use the eyedropper tool to select the color you want masked. I’ve found I have to use the magic wand tool to add to the selection once I’ve started it using the color range tool. This is relatively straightforward when it involves one object but is more time consuming if you are selecting multiple objects.
Final Touches
Once I’ve converted a given file to black and white, I’ll save the converted image under a different name so I don’t overwrite the color image file. I will then determine if the image needs any overall adjustments such as contrast or levels. After making these final adjustments, I’m done. Voila. I have created a black and white image in a matter of minutes that would’ve taken much more time in effort in the old days to create in the darkroom.