There are a variety of lighting techniques a photographer can use for lighting an outdoor portrait, ranging from using existing light (incident) without any artificial light enhancement to studio strobes equipped with light modifiers. This article discusses a few of those techniques and tries to show the differences between using each of them. Knowing what lighting technique the photographer will be using is critically important for the customer as well in trying to decide between photographers. Different customers have different “looks” they are after and knowing what technique produces each look will assist the customer in making the correct decision on a photographer. FYI, if you are a customer desiring a well-balanced, evenly lit portrait, don’t hire a photographer who shows up to the job holding just a camera. They won’t get the desired effect you’re after. Photographers who are comfortable using all of the above techniques, rather than just specializing in one, can broaden their appeal to customers as well.
Incident Light
The first technique I want to discuss is using available light or incident light to create a portrait. This is the easiest technique to use for the photographer because little or no extra equipment (besides the camera) is often needed. It is perhaps the most difficult, however, to achieve the desired end result–a well-exposed portrait. Some very experienced environmental portraiture photographers can achieve beautiful results using a combination of reflectors and diffusers, but this increases the amount of equipment (and assistants) needed to take the photo.
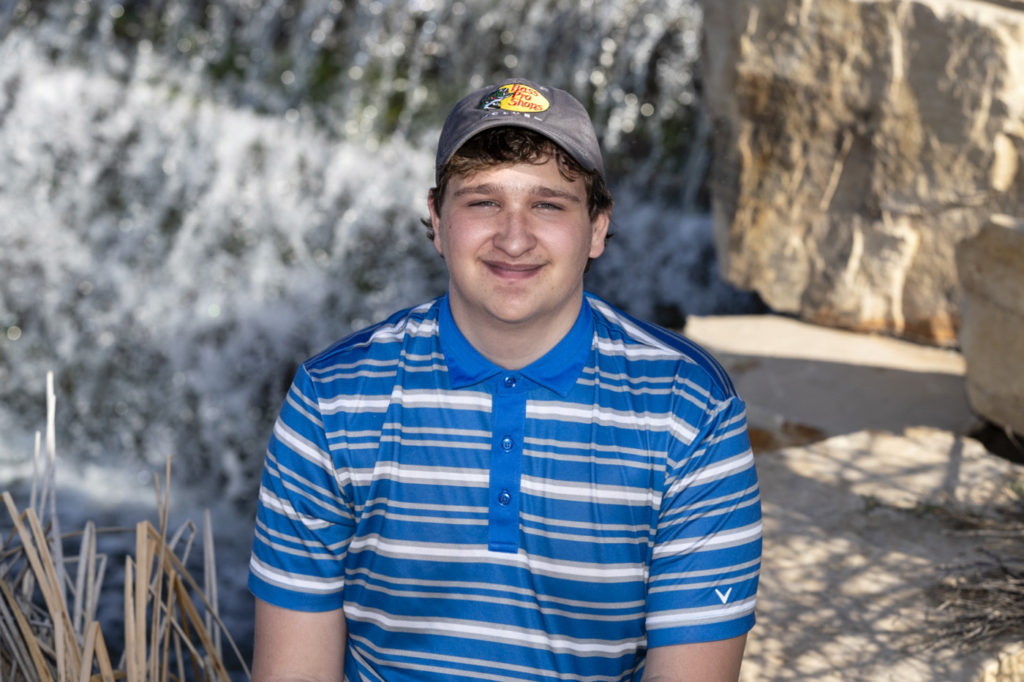
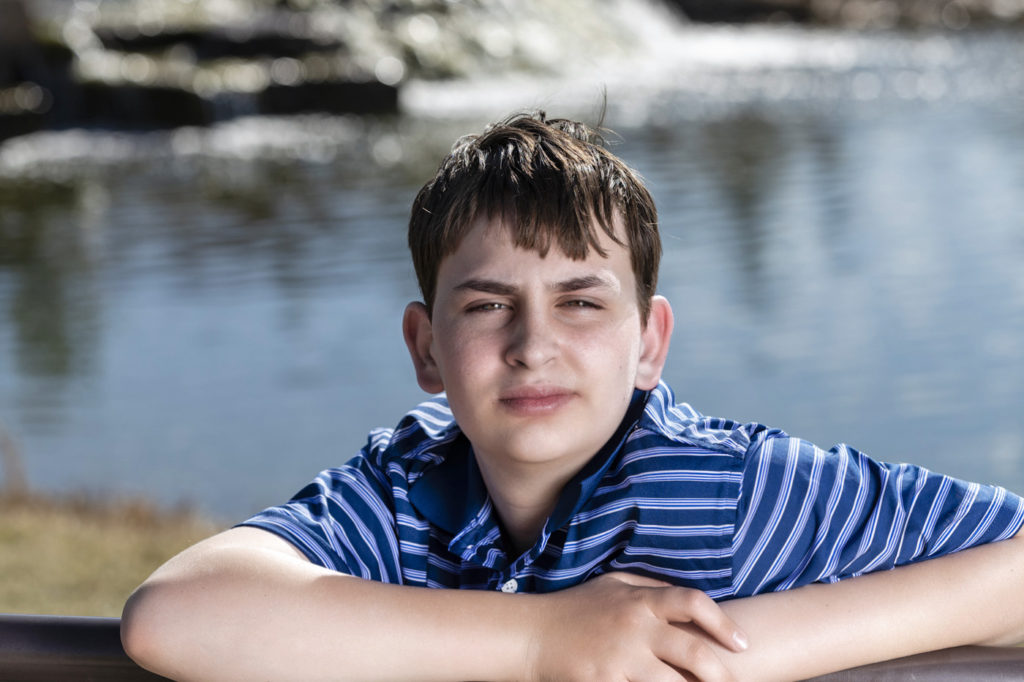
The biggest hurdle that has to be overcome with this technique is the huge contrast range between the background and the person’s face. As can be seen from the two photos below, this means that either the background is properly exposed and the person’s face is in shadow, or the reverse is true.
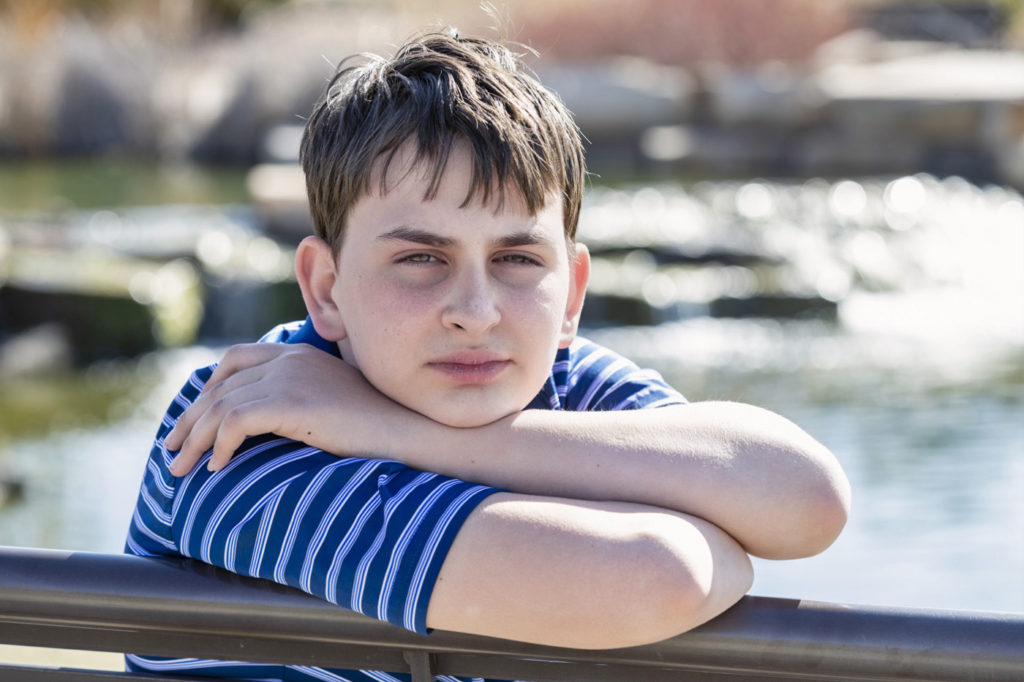
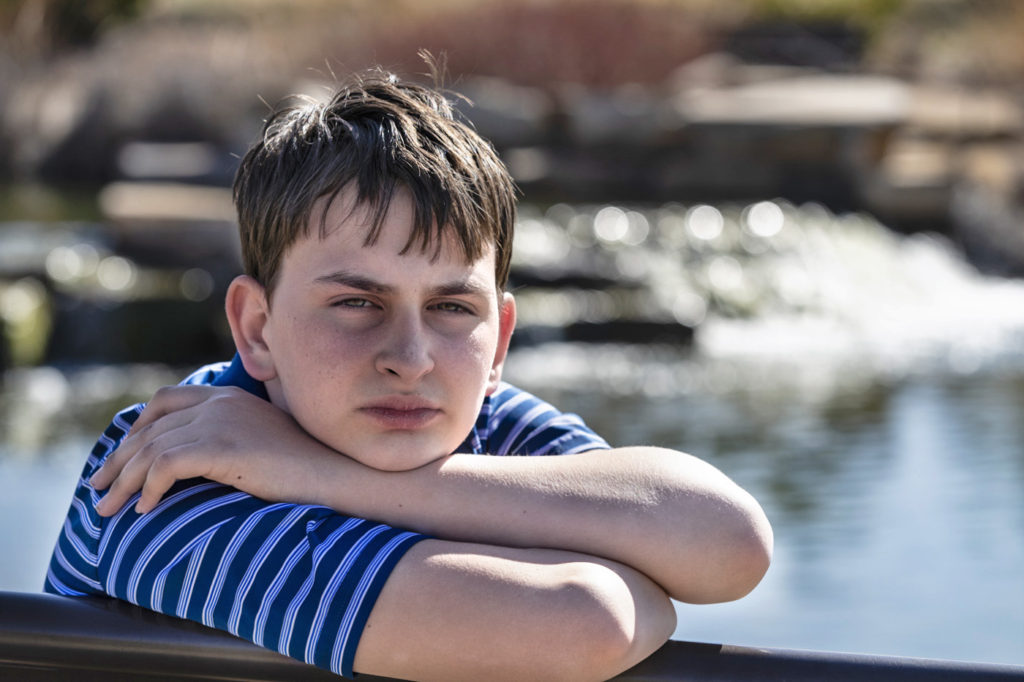
As you can see, the contrast is too much for the camera to handle. Either the background or the person’s face looks properly exposed. This can be handled in one of three ways–exposing for the background and adding light with a reflector to fill in the shadow, exposing for the background and adding artificial light with a flash, or waiting for a cloudy day to cut down the contrast (problematic in a place like sunny Colorado). I’ll discuss a couple of ways how to use flash to fix this. I’m not the biggest fan of reflectors since it requires an assistant to hold one (wind often blows the reflector out of position if just a stand is used to hold it), and their use often causes the subject to squint as you shine light back into their face. When done properly, however, the effect can be stunning as nice warm light is reflected onto the person’s face to fill in the shadows.
On-Camera Flash
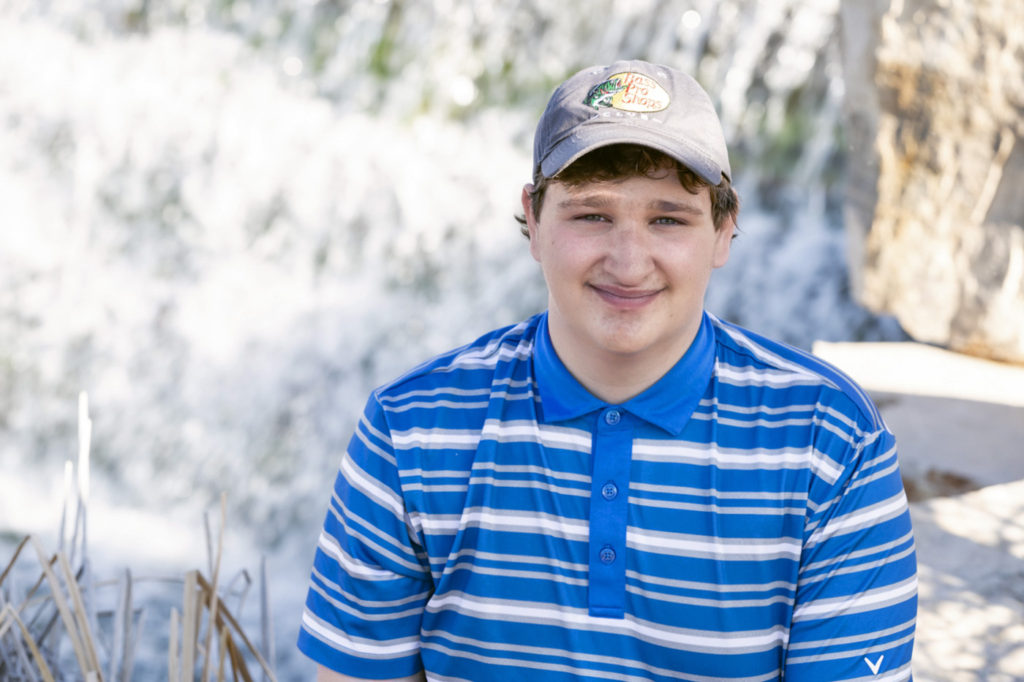
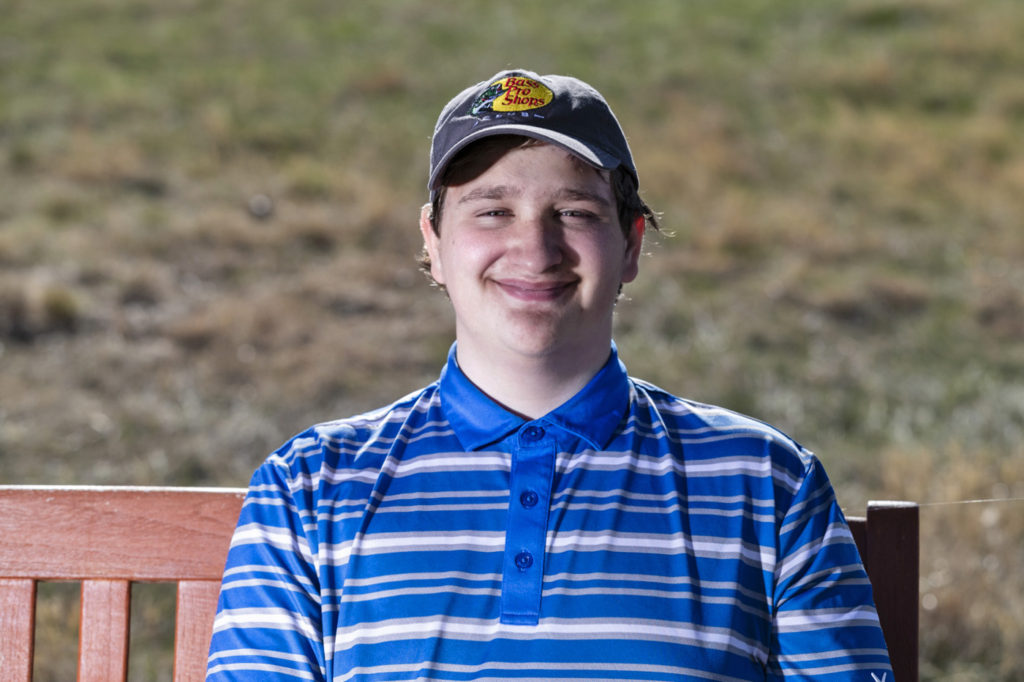
The smallest and simplest way to fix the lighting conundrum above is to use a flash positioned atop the camera (these flashes which fit onto the hot shoe are known as speedlites). The idea is to add a small pop of light onto the subject’s face to balance out the portrait. While on-camera flash gets the job done, the results can be rather crude. As you can see from the examples below, the lighting is flat since the flash is fired directly at the subject.
Off-camera Flash
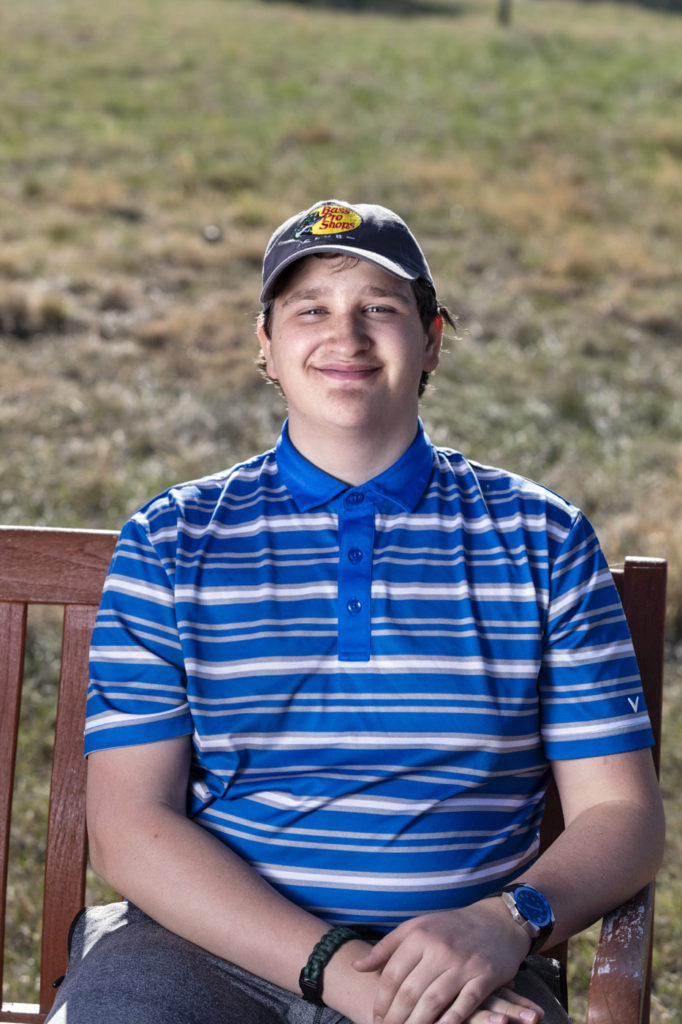
If you want to add dimensionality to the person’s face, the flash has to be taken off camera and positioned more to the side. Think of a Rembrandt portrait, for instance. The light does not fall directly on the subject but comes from the side to give the face a more distinctive look. There are a number of ways to achieve this side lighting effect. The first involves simply turning the flash that is sitting atop the camera to the side and bouncing it off a white reflector. Again, I’m not crazy about reflectors outdoors, so the better solution IMHO is removing the flash from the camera altogether and placing it atop a light stand. You can use the same speedlite or a more powerful battery-powered strobe for this purpose. And while strobes are a lot heavier and bulkier, they have far more power to allow for the use of bigger light modifiers which can produce striking results.
Bare bulb flash
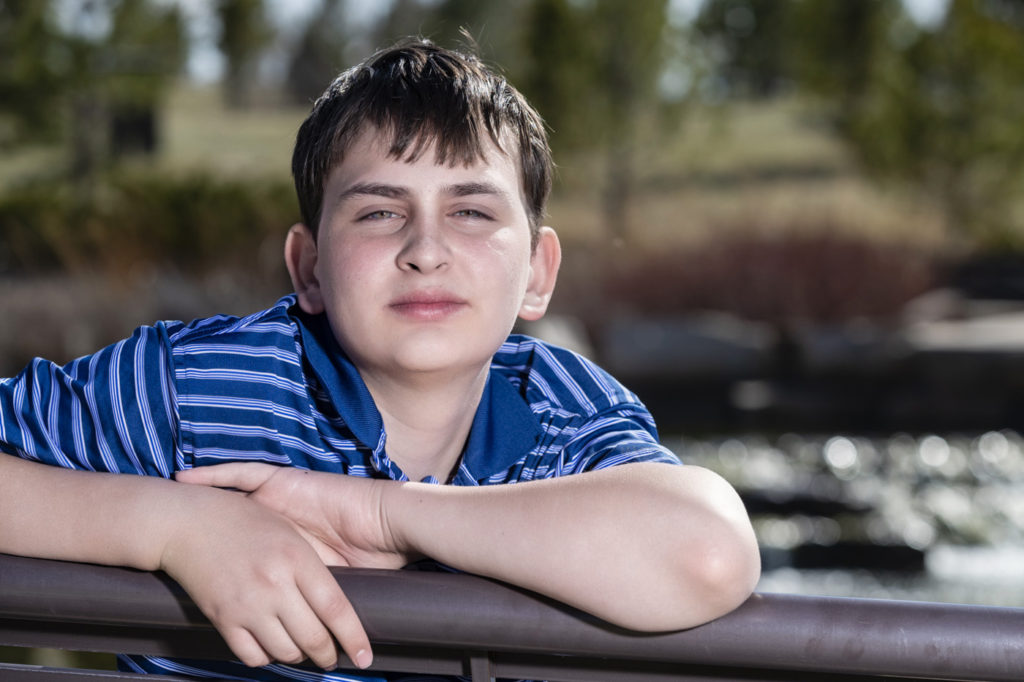
The first way to do this is position a flash to the side of the subject without use of any light modifiers. This adds dinesionality but the look is a little harsh.
Off-Camera flash with modifier
A far better way to use off-camera flash is to attach some sort of modifier to the flash to soften the light. Think of holding a white sheet over your head on a sunny day. The light becomes much softer. For outdoor use, I prefer either a shoot through umbrella (a translucent umbrella that is placed in front of the flash) or a beauty dish or octagonal softbox. Now as you can see below, the light quality softens but the light directionality is still maintained.

So the next time you take a portrait outdoors, try one of the above techniques to improve your photography. Or better yet, the next time you hire a photographer for an outdoor portrait, you’ll know what questions to ask the photographer about what equipment he or she will be using so you can be more confident in getting the results you want.